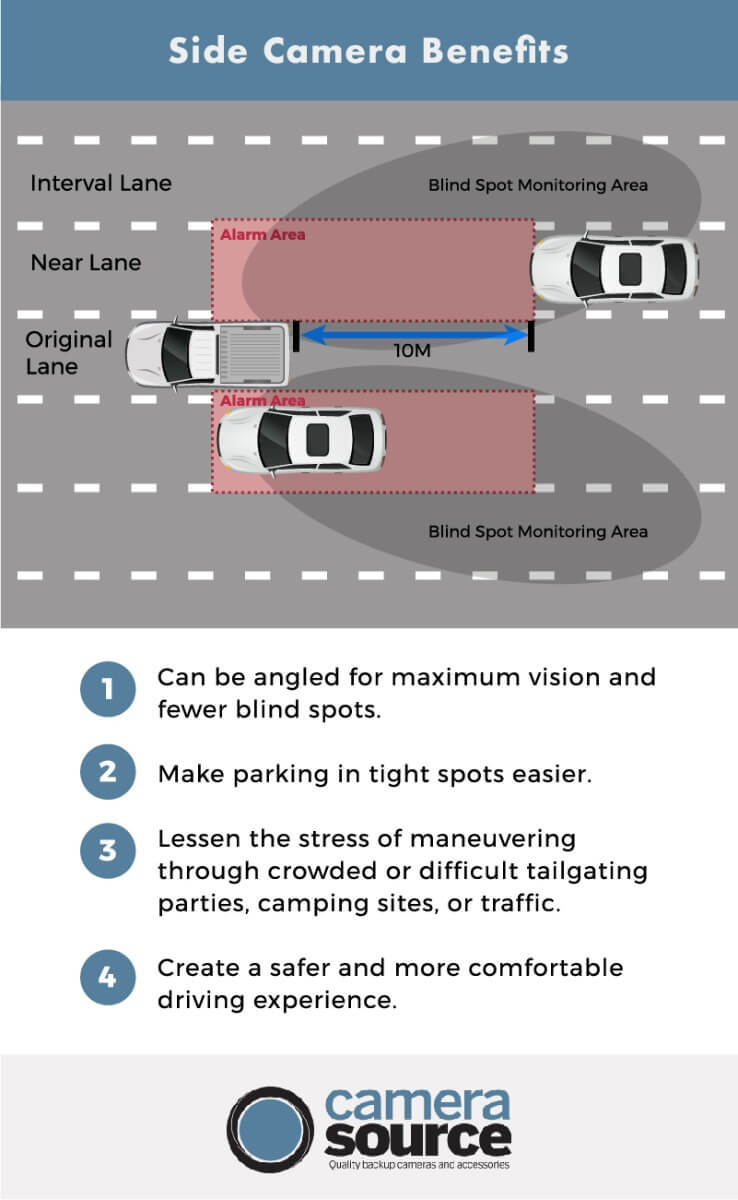
A side view camera can be a very useful supplement to the existing camera setup you have on your vehicle, or if you’ve got a vehicle that’s large and difficult to maneuver, like an RV. Side cameras allow you to navigate tight parking spaces, small roads and more. Even shifting lanes can be dangerous in a large vehicle, which is why a side camera is essential.
Fortunately, the process of adding a camera to the side of a car is not too different from adding a backup camera. However, there are a couple of key differences, and we’ll show you how to install a side-view camera in this post.
Step 1: Get the Right Camera
The first thing you want to make sure you do is ensure that you’re getting the right type of camera. Side view cameras are going to be a bit different from rear view cameras, but overall, the principles are the same. Start browsing our inventory to find the right camera for you. Camera Source has reverse, and front and side cameras for all the major vehicle manufacturers:
If you can’t find a camera that’s designed for your specific vehicle, that’s not the end of the road. We have universal cameras that will work well for side view, you just need to find one that will mount effectively to the side of your vehicle. Depending on what you’re looking for, there are plenty of aftermarket options that are very effective. An important factor to consider is how you want to mount the camera, as there are several camera mounting options available:
- Surface - Just as the name implies, surface-mounted cameras can be mounted on any external surface. Most of these cameras are mounted high up on the vehicle, maximizing your depth perception.
- Flush - Would you rather mount your camera through a hole? If so, only the camera lens and bezel will protrude from the vehicle, which looks cleaner and less invasive than other aftermarket options.
- Lip - Lip mounted cameras are perfect for that OEM look, and many different vehicles support them or have the mounting ability already.
- Bracket - Bracket mounting a backup camera can be a useful strategy if you don’t have a good place to mount a camera, like under a hood opening latch or on a license plate. Brackets aren’t usually the first, or second, or even third choice when adding a camera to the side of a commuter vehicle since it protrudes and is at risk of colliding with other vehicles or objects.
Once you’ve determined where to install the side camera, selecting the camera mounting is simple. For the side of a vehicle, you’ll want the most discreet camera mount as possible to avoid collision and damaging the camera.
Step 2: Assemble the Tools
Once you’ve got the right camera, you’ll want to make sure that you have the right tools. Make sure to have the following available. Every car and camera kit will be a bit different but generally speaking you should be covered if you have the following tools on hand:
- Hand drill with drill bits for drilling metal (preferable high speed bits coated with titanium oxide)
- Torx set
- Wrench Set
- Safety Goggles
- Flashlights
- Standard wire stripper/crimper
- Torx socket set
- Razor knife
- Socket or nut runner set
- Trim removal tool or small plastic putty knife
- Soldering iron and solder (optional)
- Shrink tube (optional)
Step 3: Create a Mount Point
The kit that you purchase will likely come with the necessary cables, connectors, and other materials needed for installation, but creating a mounting point will be the most challenging and important part of this project. Most vehicles are not designed with the intent to mount cameras to the side, so you’ll need to remove a side panel near the wheel well or attach it to the rear bumper of your vehicle. Depending on the type of car you have, this might be more or less difficult.
We recommend attaching to the bumper, and trying to keep the mount as unobtrusive as possible so you don’t damage or dislodge the camera while driving.
Step 4: Run & Connect Wires
Making sure you’re not going to cut any existing cables, drill a hole from the exterior side of your vehicle that will be enough to run cables through. A wireless camera is an alternative option to consider to make the installation simpler.
The following steps will help give you an idea of how to install the camera properly. However, as many vehicles are designed to mount side view cameras, you might need to get a little creative and fit the following steps to your vehicle.
- Run the camera and power cable through the holes you’ve drilled to reach into the interior of your car.
- Locate the reverse light wires for your car. Make sure to double check your owners manual to ensure you’ve located the right one. You might also decide to wire the camera to your running lights for a constant feed of video.
- Strip the positive and negative wires on your reverse lights or other lights (make sure your car is powered off before you do this). Using a small screwdriver, separate some of the strands of the stripped wire, and splice in the power cable for your backup camera to them. Usually you can do this by looping the wires together. Make sure positive is connected to positive and negative is connected to negative. Once you’ve done this, cover everything in electrical tape.
- Connect the RCA cable to the camera’s cable, and run it all from the trunk to the fuse box area at the front of the car. This is usually located to the bottom left of the steering wheel. You can conceal the cable underneath the ceiling panels of your vehicle if you want to peel them back, or if you don’t care about aesthetics, just attach it to the ceiling of your car.
Step 5: Mount the Monitor
- For a side view camera, it’s likely that you’ll want a second display or a smaller one. There are displays that can mount to an air conditioning vent, or ones that mount to dashboards or rearview mirrors. Follow the instructions that come with the monitor to find the best point for mounting. Additionally, this backup camera installation guide can be very helpful.
- Connect the RCA cable to the RCA output on the monitor. You may also need to run a trigger wire up to your monitor, or even power it through the same source as the backup camera. (Again, models will vary.)
- If the monitor requires it, you’ll likely need to install a fuse tap, which will allow you to connect the bare wiring of your monitor to the power of your fuse box.
Step 6: Mount the Camera
Following the directions included with your side mount camera, mount the camera to its mounting position, and from there, run a few tests to ensure the camera is working properly.
Don’t Get Blindsided
Camera Source is the premier source for all things backup camera and optics related. We’re here to help make sure that your vehicle gets the camera you need, and that you can install it with minimal fuss. Get in touch with us to learn more, or start browsing our products today.